After searching for the perfect drink garnish, I stumbled upon these gorgeous pineapple flowers and was instantly hooked! I've spent countless hours perfecting this simple technique, and now I'm excited to share it with you.
These beautiful edible flowers transform an ordinary fresh pineapple into a show-stopping decoration that will make your guests think you hired a professional bartender or pastry chef. The best part? They're incredibly easy to make with just one ingredient and basic kitchen tools you already have.
The sweet, concentrated pineapple flavor is an added bonus to their stunning appearance. I use these golden beauties on everything from weekend mocktails to birthday cakes, and they never fail to impress.
Follow my foolproof method below for perfect pineapple flowers every time!
What Are Pineapple Flowers?
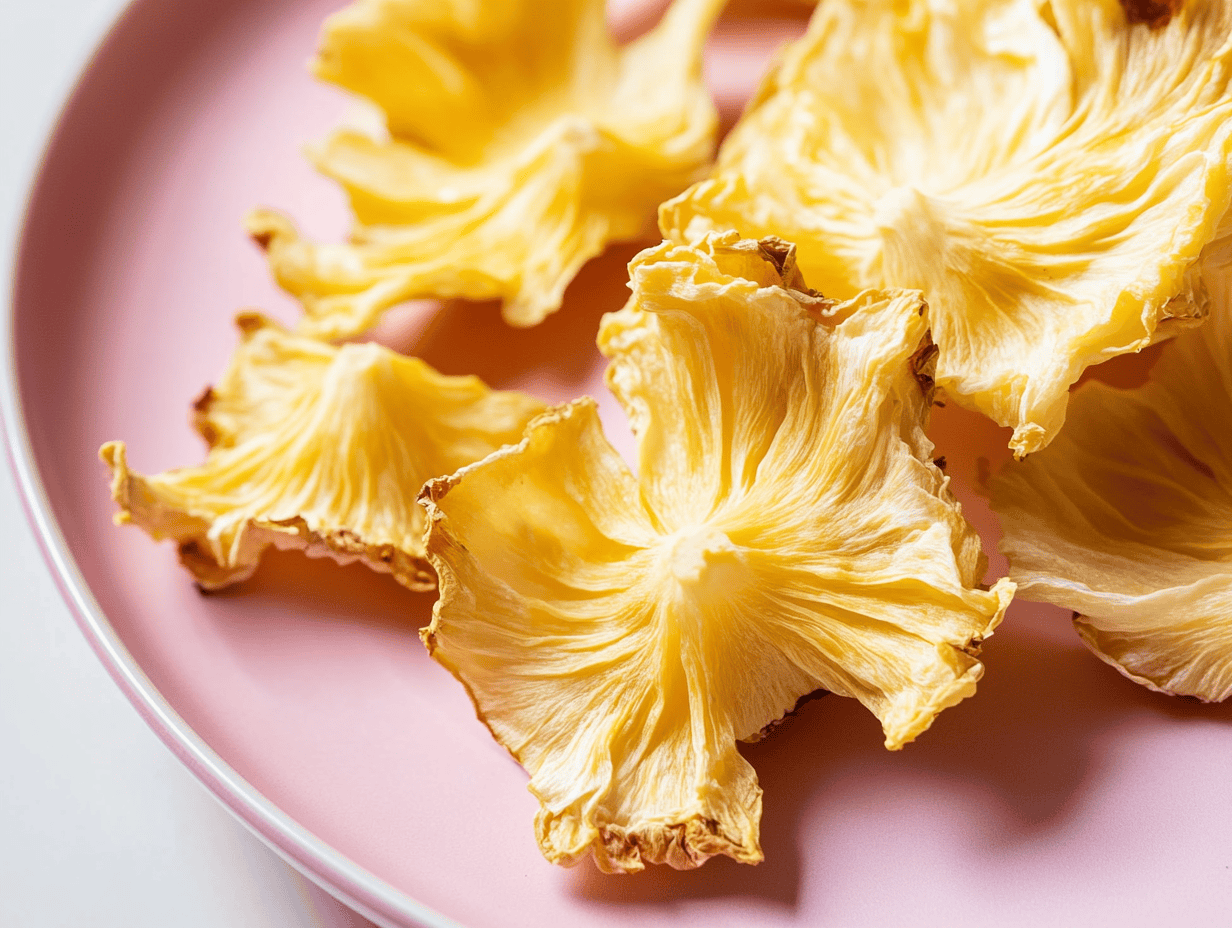
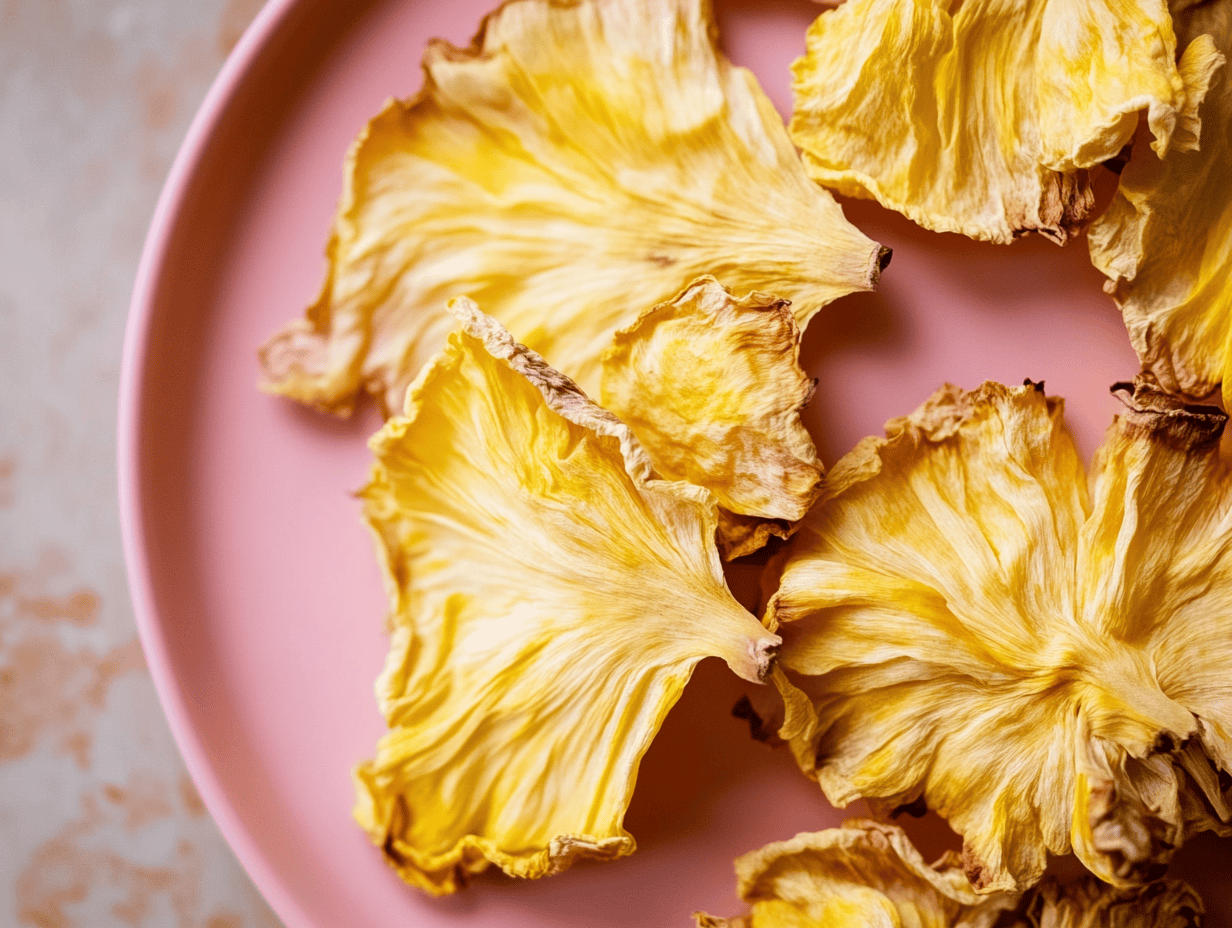
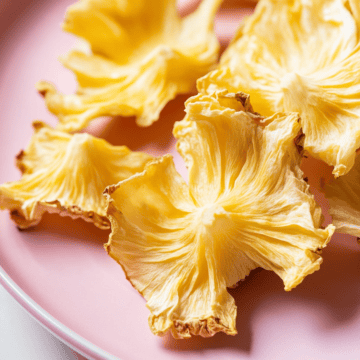
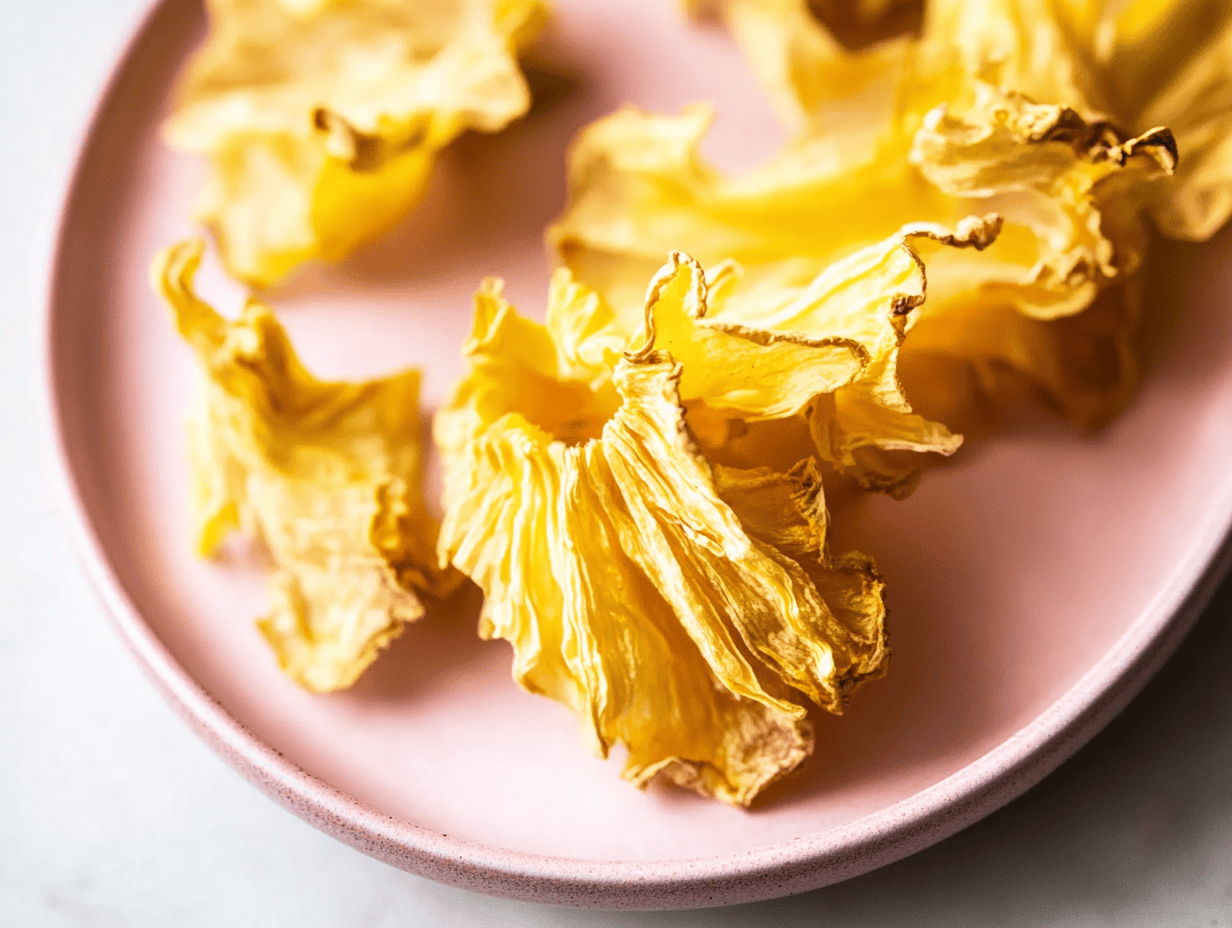
Pineapple flowers are thinly sliced rounds of fresh pineapple that have been slowly dehydrated and shaped to resemble delicate flower blossoms. As they dry, the natural sugars in the pineapple caramelize slightly, creating golden-hued petals with a sweet, intensified pineapple flavor.
Jump to:
Why I Love This
- Stunning Visual Impact: These delicate golden flowers will instantly transform ordinary drinks and desserts into Instagram-worthy creations
- Budget-Friendly Elegance: One pineapple (typically $3-5) yields 15-20 gorgeous flowers - much cheaper than store-bought edible decorations
- Naturally Sweet Treat: Unlike artificial garnishes, these are 100% edible with a delicious concentrated pineapple flavor
- Make-Ahead Convenience: Prepare these 2-3 days before your event for stress-free entertaining
- Allergy-Friendly Option: Naturally vegan, gluten-free, and free from common allergens
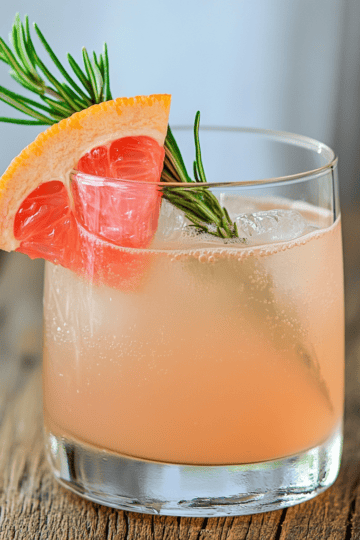
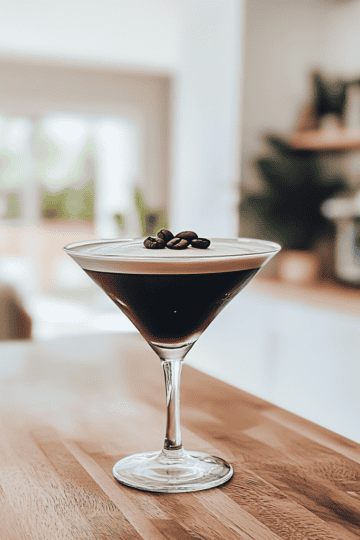
- Versatile Applications: Perfect for mocktails, cocktails, cakes, cupcakes, fruit platters, and more
- Conversation Starter: Guests will be amazed when they discover these beautiful flowers are actually pineapple
Ingredients
I chose fresh pineapple for this recipe because its natural structure creates beautiful petal-like edges when thinly sliced and dried. The core acts as the flower's center, while the fruit's natural sugars caramelize slightly during baking to create a gorgeous golden color.
Fresh pineapple also has the perfect balance of sweetness and acidity, concentrating into an intensely tropical flavor as it dries. No other fruit creates quite the same elegant result with such minimal effort.

1 Fresh Pineapple: Select a ripe pineapple with a slightly yielding exterior when gently squeezed. The skin should have a golden-yellow color (some green is okay). A fragrant aroma at the base indicates ripeness.
Equipment
- Sharp Chef's Knife or Mandolin Slicer: Essential for creating ultra-thin, consistent slices (ideally ⅛ inch or thinner). A mandolin makes this process significantly easier and produces more uniform results. Purpose: The thinner the slices, the more delicate and petal-like your flowers will appear.
- Cutting Board: Preferably with a juice groove to contain the considerable amount of pineapple juice released during cutting. Purpose: Provides a stable surface for safely cutting the pineapple.
- Paring Knife: The short blade allows precise removal of the pineapple "eyes" without sacrificing too much flesh. Purpose: Helps maintain the integrity of the pineapple rounds while removing tough spots.
- Baking Sheets: Two standard-sized baking sheets allow you to spread out the pineapple slices without overcrowding. Purpose: Proper spacing ensures even air circulation for uniform drying.
- Parchment Paper: Prevents sticking and makes cleanup easier. Purpose: Creates a non-stick surface that allows for easy flipping of the delicate slices.
- Paper Towels: Used to blot excess moisture from the pineapple slices. Purpose: Removing excess moisture significantly reduces drying time and improves texture.
- Standard Muffin Tin: The curved wells create the flower shape as the pineapple dries. Purpose: Shapes the pliable warm pineapple into a three-dimensional flower form.
- Mini Muffin Tin: (Optional) For smaller pineapple slices or creating varied sizes. Purpose: Creates smaller flowers for more delicate applications.
- Airtight Storage Container: For keeping your finished flowers crisp. Purpose: Prevents moisture absorption that would make your flowers lose their crispness.
How To Make
- Preheat your oven to 200°F (95°C) and prepare your pineapple by cutting off the top and bottom. Stand it upright, slice away the outer rind in downward strips, and remove any remaining "eyes" with a paring knife. Line your baking sheets with parchment paper.
- Slice the pineapple into very thin rounds (about ⅛ inch) using a mandolin or sharp knife. The slices should be almost see-through when held up to light. Arrange them in a single layer on your prepared baking sheets.
- Gently press paper towels onto both sides of each slice to absorb as much moisture as possible. This helps them dry more quickly and evenly in the oven.
- Bake for 40 minutes, then carefully flip each slice and bake for another 30-35 minutes until the edges start to curl and turn slightly golden. Keep an eye on them during the last 10 minutes to prevent burning.
- While still warm and pliable, immediately place each slice into the wells of a muffin tin, gently pressing down in the center to create the flower shape. Leave them in the muffin tin overnight at room temperature to fully dry and set. Once completely dry, carefully remove the flowers and store in an airtight container for up to 3 days.
Substitutions
Can I substitute with other fruits? While this specific technique works best with pineapple due to its unique structure, you can create similar decorative dried fruit garnishes with:
- Apples: Create thinner, more delicate flowers (add lemon juice to prevent browning)
- Pears: Similar to apples but with a different flavor profile
- Citrus Fruits: For a different style of garnish
Note: Canned or pre-cut pineapple won't work for this recipe as they lack the essential core that helps form and hold the flower shape.

Pro Tips
- Choose the Right Pineapple: Look for a pineapple with a uniform shape and without too many deep "eyes" to make slicing easier.
- Slice Consistency is Key: Practice with a few slices to get the thickness right. Too thick and they won't dry properly; too thin and they may burn or fall apart.
- Mind the Core: Keep the core intact in each slice as it provides structure and creates the center of your "flower."
- Test for Doneness: Your pineapple flowers are ready when they're dry to the touch but still slightly pliable when warm. They will crisp up further as they cool.
- Temperature Matters: If your oven runs hot, reduce the temperature to 175°F or even 150°F and extend the drying time. Low and slow is better than risking burnt edges.
- Create Different Sizes: Slice from different parts of the pineapple for varied diameters - use smaller slices for delicate garnishes and larger ones for showstopper decorations.
- Color Development: For a deeper golden color, allow slightly more browning at the edges, but watch carefully to prevent burning.
- Custom Shaping: For flatter flowers (to top cupcakes), press less deeply into the muffin tin; for more pronounced cup shapes (for holding small items), press more firmly.

FAQ
Yes! Set your dehydrator to 135°F and dry for approximately 5 hours, then flip and dry for another 5 hours. You'll still need to shape them in muffin tins while warm.
A ripe pineapple will have a slightly sweet aroma at the base, yellowish skin (some green is fine), and slight give when gently squeezed. Avoid pineapples with soft spots or a fermented smell.
Yes, but for optimal appearance, make them no more than 2-3 days in advance. Store in an airtight container with parchment paper between layers.
Significant shrinkage is normal! Pineapple contains about 87% water by weight, most of which evaporates during the drying process.
Yes! They're simply dehydrated fresh pineapple with no additives, making them suitable for most dietary restrictions including gluten-free, vegan, dairy-free, and nut-free diets.
Typically 15-20 flowers, depending on the size of your pineapple and how thinly you slice it.
Children can help with blotting moisture and shaping the flowers, but adult supervision is recommended for the slicing step, especially when using a mandolin.
Yes, but prop the oven door open slightly with a wooden spoon to lower the effective temperature and check more frequently to prevent burning.
Yes, but place them on just before serving. Extended exposure to steam will cause them to soften.
Related
Looking for other recipes like this? Try these:

Tropical Pineapple Flowers Garnish
Ingredients
- 1 Fresh Pineapple Select a ripe pineapple with a slightly yielding exterior when gently squeezed. The skin should have a golden-yellow color. Some green is okay. A fragrant aroma at the base indicates ripeness.
Instructions
- Preheat your oven to 200°F (95°C) and prepare your pineapple by cutting off the top and bottom. Stand it upright, slice away the outer rind in downward strips, and remove any remaining "eyes" with a paring knife. Line your baking sheets with parchment paper.
- Slice the pineapple into very thin rounds (about ⅛ inch) using a mandolin or sharp knife. The slices should be almost see-through when held up to light. Arrange them in a single layer on your prepared baking sheets.
- Gently press paper towels onto both sides of each slice to absorb as much moisture as possible. This helps them dry more quickly and evenly in the oven.
- Bake for 40 minutes, then carefully flip each slice and bake for another 30-35 minutes until the edges start to curl and turn slightly golden. Keep an eye on them during the last 10 minutes to prevent burning.
- While still warm and pliable, immediately place each slice into the wells of a muffin tin, gently pressing down in the center to create the flower shape. Leave them in the muffin tin overnight at room temperature to fully dry and set. Once completely dry, carefully remove the flowers and store in an airtight container for up to 3 days.


Comments
No Comments